
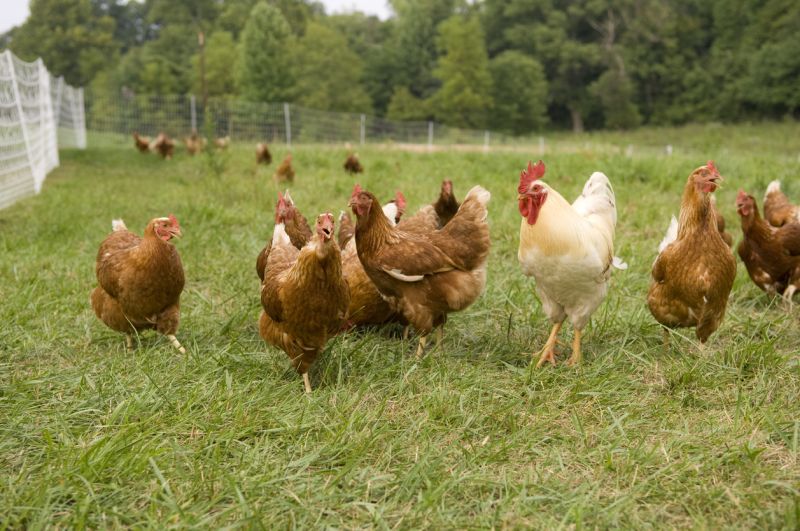
Many keepers are choosing to create a PVC chicken feeder to make mealtime easier for their feathered friends.

After all, when animals eat, they can sometimes make a mess. If you don’t clean your chicken enclosure enough, you might find chicken feed scattered around the ground. Choosing a better feeder might help with this.
Let’s take a look at what a PVC chicken feeder is and how you can make one for feeding your flock. All you need is a few simple supplies, including some PVC pipes. It’ll take about an hour out of your day to create a chicken feeder that will last.
Should You Make a Chicken Feeder Out of a PVC Pipe?
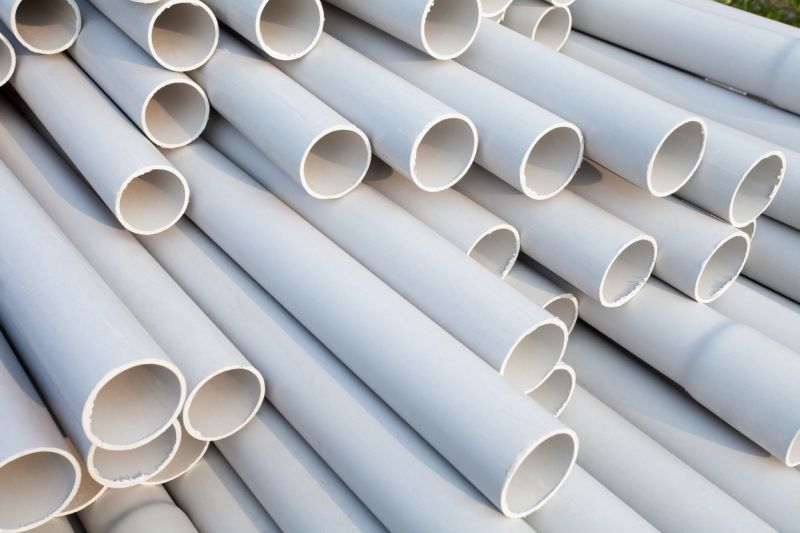
With a few PVC pipes, you can easily make some feeders for your flock. Most keepers refer to these as a PVC chicken feeder or a gravity chicken feeder. These homemade supplies are perfect for preventing food from spilling and protecting it from the rain. Plus, they’re cheap and easy to make while being just as effective as a store-bought feeder.
If your current food bowls are causing food to get wasted due to messy chickens or inclement weather, then you should consider switching to a PVC feeder. It not only prevents the food from getting everywhere, but it also makes it easier to serve the food to chickens. So, if you don’t mind a short hands-on project, then there are many benefits to these types of feeders.
How Do You Make a Chicken Feeder out of PVC Pipes?
There are many ways to make a chicken feeder out of a PVC pipe, but they all follow similar steps. So, the following instructions are a general guide for how to make a PVC chicken feeder. Then, you can customize your feeder to best fit your needs.
Step 1: Plan Your Design

Before you get started with your PVC chicken feeder, you’ll want to decide which design is best for you. The most common type is a vertical feeder with a slight curve on the bottom. This is the feeder these steps will focus on, but there are a few other great options as well.
One feature that’s often different is the bottom of the feeder. While most keepers use a curved PVC pipe with an opening on the end, others use a straight, longer end with several holes in it. That way, multiple chickens can easily eat out of the same feeder at once.
Another common option is a horizontal feeder. While it’s not as practical, it’s much easier to set up. It’s a PVC pipe cut it half to function as a trough for your birds.
If you’re looking for something a little more complicated, you can even create an automatic PVC feeder. This will require some technology and programming, so it might not be easy for everyone. With the right tools, you can program the feeder so it opens and closes at a certain time to make refilling the food easier for you.
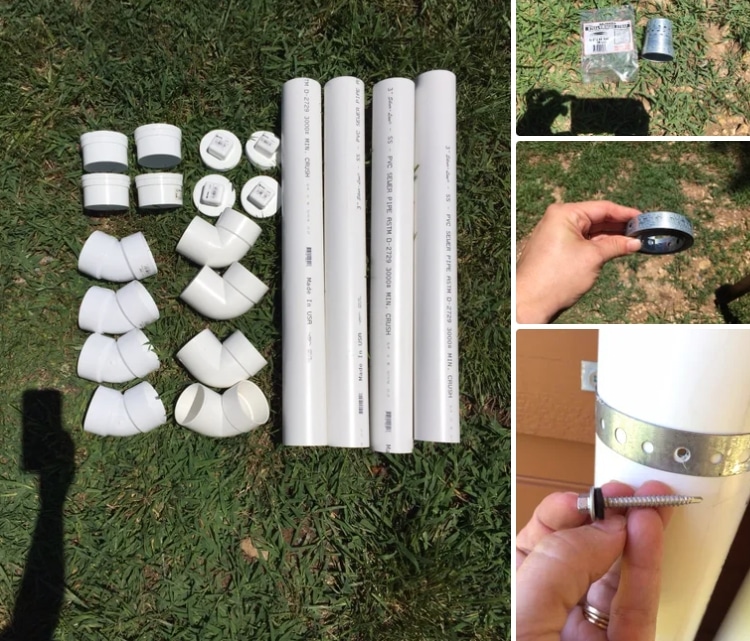
Step 2: Gather Supplies
Once you decide how you want to approach this project, you will need to gather all the supplies. Here are the types of pipes you’ll need to make four basic feeders:
- A long pipe with a three-inch diameter (about 10 feet long is enough for four vertical feeders)
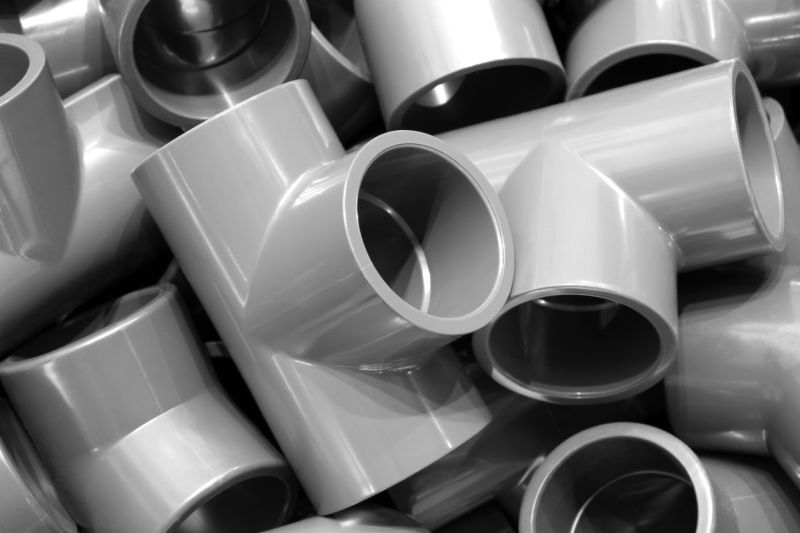
- Four 90-degree PVC elbows and four 45-degree elbows or four 45-degree Y connectors
- Four three-inch caps and cap adaptors
- Extra three-inch pipes as needed
You will also need these tools for best results:
- Hacksaw
- PVC cement
- Drill
- File or Dremel tool
- Metal strap and screws
As you’re gathering these items, think about the feeder you want to make. You might need more or less supplies, depending on your design. This list is for four feeders because that’s usually a good amount for a flock. However, you might need to adjust that number based on how many birds you have.
Step 3: Cut Pipes to Ideal Sizes
Next, you can cut the pipes into the desired lengths. For example, if you have a 10-foot-long PVC pipe, cut it into four equal pieces to create four chicken feeders. You can do the same thing no matter how long the pipes are.
Many instructions also recommend that you cut off the connecting end of the pipe, which is the part that’s a little wider. If you’re making the bottom differently, you might need to cut out holes in a pipe for the chickens to reach the food. Whenever you cut parts off the PVC pipes, you can sand them down to make sure there aren’t any sharp edges.
If you decide to go a different route, the cutting will be different. For example, if you have a horizontal chicken feeder, you’ll need to cut the pipe the long way instead. If you’re planning to install a circuit board to get the feeder to automatically dispense food, you may need to cut other sections to incorporate it.
Step 4: Assemble
Once all the pipes are cut and sized properly, you can fit all the parts together. You can use the PVC cement to attach them. For the standard feeder, you can attach the elbow PVC pipes to the bottom of the pipe. Then, you can put the lid on the top.
If you’re using the Y-shaped pipes instead of the elbows, you’ll need to attach it to the pipe, and then add a small piece of pipe and a cap underneath it. Both methods allow a the opening of the feeder to come up at an angle, allowing chickens to reach in and take the food. However, using the Y-shaped one will cause there to be an extra gap for food at the bottom.
Once the assembly is complete, your project should look like a chicken feeder. Make sure the top and bottom of the feeder are closed securely to prevent food from falling out. Also, make sure any sharp edges are sanded down to keep your chickens safe.
Step 5: Install the Feeders
Now, you just need to find a place to attach the feeders to. With the cap on the top, the food will stay protected from the rain, but putting it in a covered area can keep it in even better shape.
An easy way to install a feeder on wood is to use a metal strap and screws. Some sources say that it’s easiest to attach the top metal strap first and then work your way down. You should wait at least 24 hours after assembling the feeders to allow the pieces to stick together.
When you’re ready to feed your chickens, take the cap off the top and fill the feeder with food. Your chickens will likely be curious and want to investigate their new feeder. Then, at night, you can put a cap on the bottom opening to keep the food away from weather conditions and wildlife.
Step 6: Make Adjustments as Needed
You may need to make adjustments to your feeders as you observe your chickens. For example, you might need to raise or lower the feeders to match your chickens’ heights. The feeders should be raised at least a little bit off the ground so you can still clean under them.
Once you’re sure your PVC chicken feeders are in the right place at the right height, you can tighten the metal straps to make them more permanent. You might find other ways to adjust them later on, but at first, focus on how your chickens behave.
If you want to add an automatic feature to your chicken feeder, you might still be able to include it after you assemble and install the project. However, you should make sure you consider all the steps to that process before following through with it. It may be easier to make a new PVC chicken feeder at that point.
Other DIY PVC Chicken Feeder Instructions
Above are general step-by-step instructions to help you make the ideal PVC chicken feeder, but there are lots of unique methods out there. Below is a list of some specific step-by-step chicken feeder projects.
- Basic PVC Chicken Feeder 1
- Basic PVC Chicken Feeder 2
- Horizontal PVC Chicken Feeder
- Automatic PVC Chicken Feeder
- 3D Printed PVC Chicken Feeder
- PVC Dine-a-Chook Inspired Feeder
- PVC Chicken Watering System
- No-Spill PVC Chicken Feeder
What Size PVC Elbow Do You Need for a Chicken Feeder?
The size of PVC elbows needed for these feeders can vary based on the design you follow. For a basic PVC chicken feeder, it’s recommended that you use PVC elbows with three-inch diameters to match the three-inch pipes. Each basic feeder will need a 45-degree elbow and a 90-degree elbow.
Can Chickens Roost on a PVC Pipe?
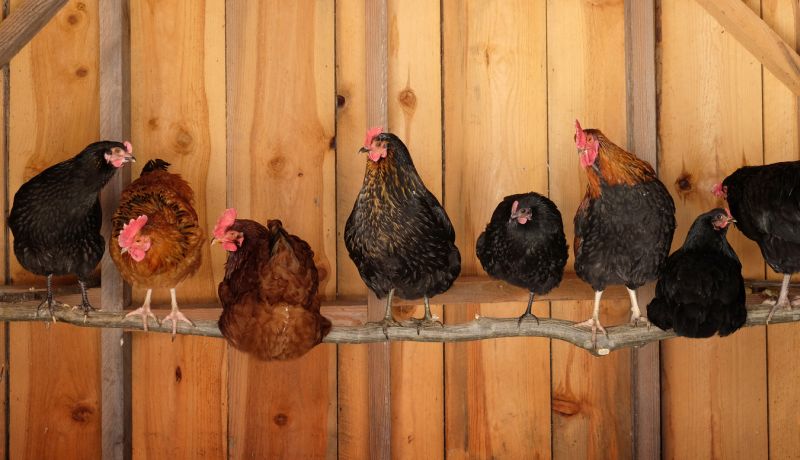
PVC pipes are great for making chicken feeders, but you should not use them as roosting perches. PVC pipes and metal pipes are slippery, which can cause chickens to hurt themselves when they try to roost.
Some safer alternatives to pipes as roosts are sturdy branches, lumber, or rubber-coated poles. The roost should have some traction on the surface to prevent your birds from slipping off. So, if you have extra PVC pipes after making the feeders, don’t use them as chicken roosts.
Using Quality Chicken Feeders
To make caring for chickens easier on you, it’s a good idea to choose a feeder that’s practical and efficient. Making your own PVC chicken feeder is a great way to make a quality feeder while also customizing it to fit your flock’s needs.
You can buy a similar feeder, but creating your own gives you more freedom to design it however you’d like. If you already have the supplies for it, it may also save you money.
So, if you’re sick of your chickens spilling their food everywhere or if the food is always getting soggy from rain, consider making your own chicken feeder out of PVC pipes. You’ll be pleasantly surprised with how well it turns out.