
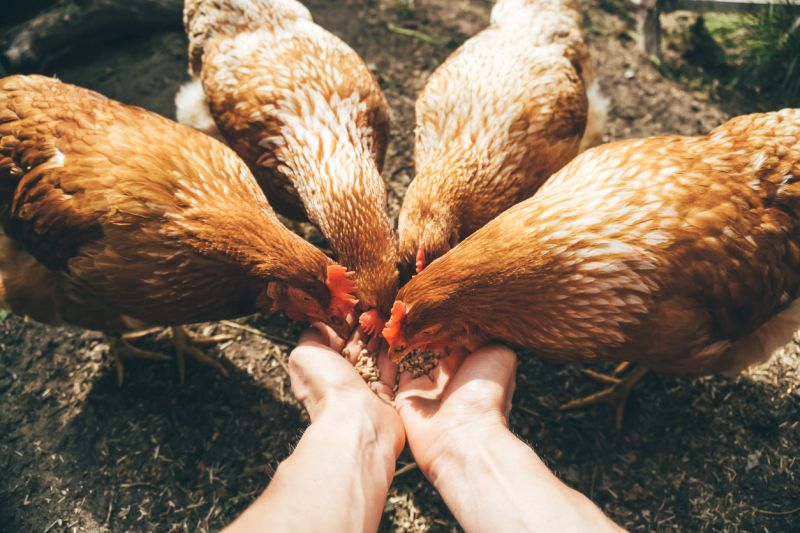
Keeping chickens happy and healthy is the key to getting tasty, high-quality eggs. So, many keepers are fermenting chicken feed as a part of their flock’s food.
Feeding your chickens is an important part of their care, so there’s a lot to think about. What is fermenting and how can it benefit your chicken feed? Let’s take a look at how to do it and why you might want to consider it.
What Does Fermenting Mean?
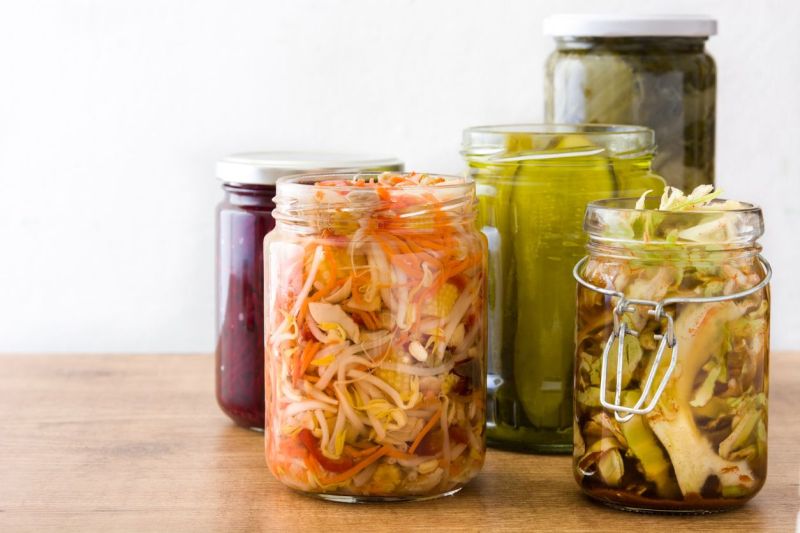
Fermentation is when you let food soak in a liquid to improve its nutritional value. It’s not only for chicken feed, but it’s also regularly used for human foods. Covering chicken feed in water for a few days gives it more probiotics and other nutrients that your birds might not get otherwise. It helps the food gain beneficial bacteria that your chicken would normally need to find in the environment.
More specifically, fermenting breaks down substances into simpler substances. Natural yeast and bacteria are often an important part of the process, and they interact with the chicken feed to give it the additional nutrients. This process can help create foods like yogurt, bread, and wine for humans. It’s not necessary for chicken feed, but it has many benefits for your feathered friends.
Benefits of Fermenting Chicken Feed
The most common reason to ferment chicken feed is to add nutrients like probiotics to your chickens’ diets. It provides many benefits for digestion, such as helping with the absorption of nutrients, normalizing stomach acidity, and providing a digestion balance.
Chickens who eat fermented feed are also known to have better egg quality. They’ll lay heavier eggs with thicker shells. Fermented feed also better protects chickens from unhealthy bacteria like Salmonella and E. coli. Since ill chickens can lead to unhealthy eggs, this protects both you and your flock.
On top of everything else, fermenting is also affordable. Fermenting chicken feed causes it to expand in volume, so chicken will get full faster. Chickens will eat 1/3 to 1/2 less feed than they would if it wasn’t fermented. Thus, you won’t have to buy chicken feed as often even though your birds will still be getting plenty of nutrients.
Overall, fermenting chicken food will cause your chickens and eggs to be healthier, allowing you to spend less on vet bills and food. It’s a win-win for both you and your chickens!
Are There Any Downsides to Fermenting Chicken Feed?
The only drawback to fermenting chicken feed is that it takes more time and patience to prepare than regular feed. Once fermented feed is removed from the water it was soaked in, it doesn’t last long. So, you’ll need to come up with a schedule to ensure that there’s always fermented feed available for your chickens.
Other than that, it has no major downsides for chickens. It can be fed to them year-round or only during select times, depending on what you choose. Some keepers only feed it to their chickens during stressful times, such as winter or when they’re molting.
However, if your fermented chicken feed gets moldy, that’s when it could cause problems for your birds. Do not feed them any of the food if it appears rancid at all.
What Supplies Do You Need for Fermenting Chicken Feed?
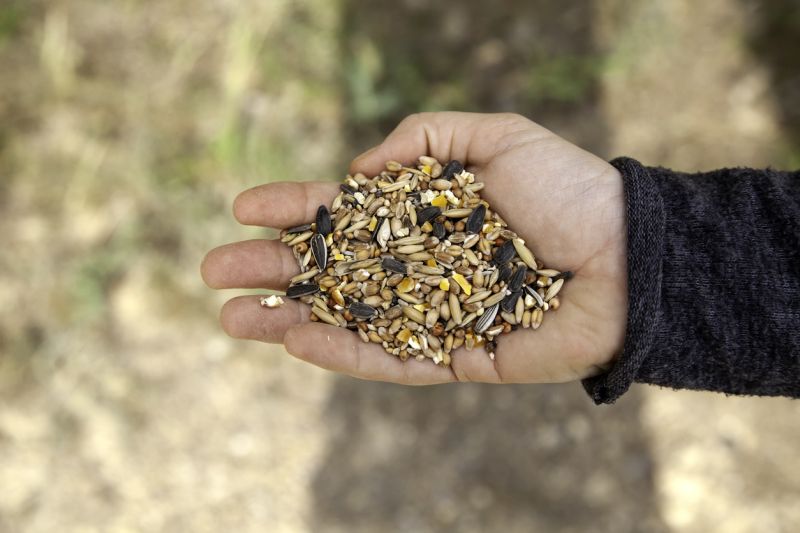
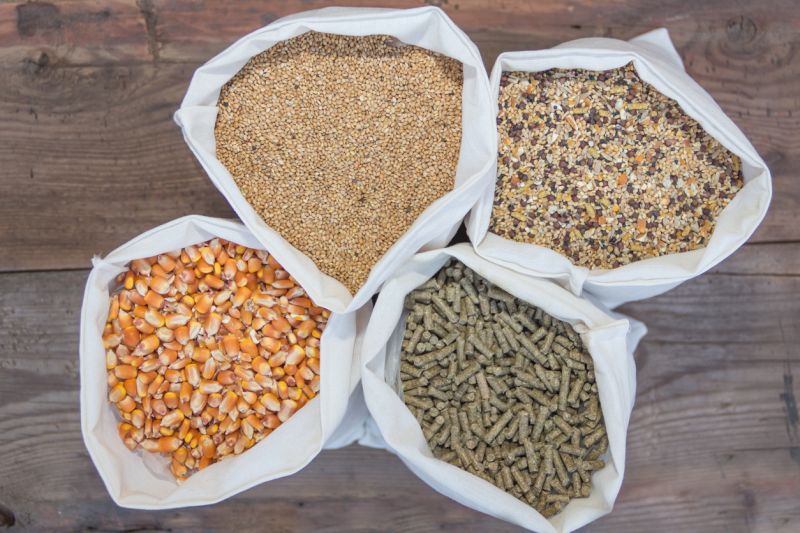
When fermenting chicken feed, you will need three main things: chicken feed, de-chlorinated water, and a container to put the feed in.
For chicken feed, you can choose whatever you regularly feed to your chickens. This should consist of a mix of grains, such as oats, sunflower seeds, and flaxseeds. It’s best to avoid a crumble feed because that will make it harder to strain the food after fermenting it.
The container you choose should be large enough to make a meal for the entire flock. A half gallon jar is recommended, but that depends on how many chickens you have. It’ll be easiest if you have several jars to use.
How to Ferment Chicken Feed
You can ferment your chicken feed in just five simple steps. If you’re curious about what fermenting entails, check out the guidelines below.
Step 1: Put the Feed in a Jar
Start by putting the grains into the container you selected. A jar, bowl, or bucket are all suitable options. Fill the container about 3/4 of the way without packing the feed down. Filling it too full could cause the container to overflow when the food expands.
One container should ideally have enough feed for one or two meals for your whole flock.
Step 2: Mix the Feed with Water
Next, you’ll need to pour de-chlorinated water into the container with the chicken feed. The feed should be completely submerged while still having a few inches of space to expand in the water.
Any chicken feed that’s not covered in water might get moldy, so be cautious when adding water. Feeding moldy food to your hens will put them at risk of getting sick, so make sure all the grains are covered before moving on to the next step.
Step 3: Let it Sit
Once all the grains are submerged, you can cover the container with a loose lid. A dish towel, plate, or other makeshift lid can work too, as long as it isn’t covering the top too tightly. The lid prevents mold spores from entering while still allowing the gasses from fermentation to escape.
Keep the container in a place that’s not too hot or too cold. Let it sit for three to four days to let it ferment. Every day, check it and stir it. If any of the feed isn’t submerged when you check it, add more de-chlorinated water as needed.
After two or three days, you’ll notice bubbles near the surface. The mixture will also become cloudier as the days go on. Those are signs that it’s fermenting properly. After the third or fourth day, you should move on to the next step and feed it to your chickens shortly after. The longer the mixture sits, the more sour it’ll become.
Whenever you check the container, keep an eye out for signs of mold. If any mold or foul odors form, dispose of the contents and don’t feed them to your chickens. Some feeds might smell a bit fishy during the process, but they shouldn’t smell overly foul.
Step 4: Drain the Feed
After waiting three or four days, you can strain the feed from the water. You don’t need to dispose of the water because it’s already packed with beneficial probiotics. So, you can reuse it the next time you ferment chicken feed. If you reuse it, you’ll likely need to add extra water to the mix.
Once the feed is separated from the liquid, it’s time to serve it to your chickens! It might take you a while to get the hang of fermenting chicken feed, but eventually, you’ll figure out your own schedule for it. Since chicken feed takes several days to ferment, you’ll need to stagger your batches to ensure that you always have some ready for your flock.
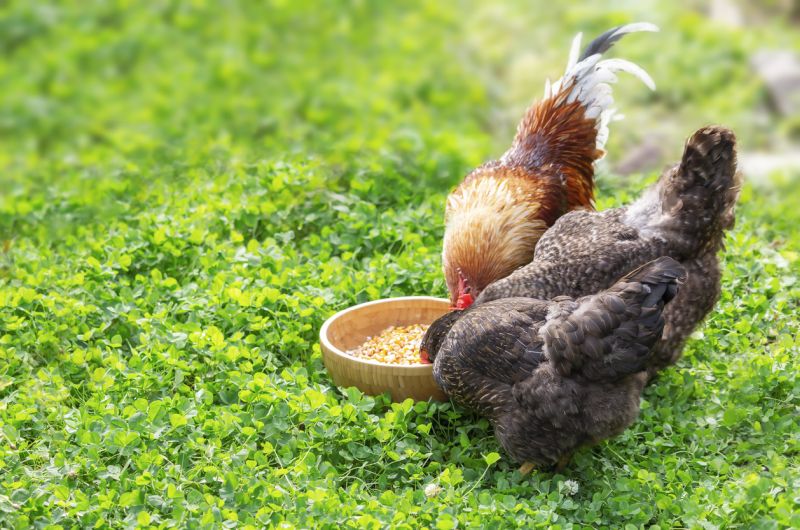
Step 5: Feed Your Chickens
When the feed is no longer submerged, it spoils much faster. So, if your jar contains enough food for more than one meal, you might want to only strain some of the feed and keep the rest in the water until the next meal. Refrigerating unfinished fermented feed can help it last a little longer.
Chickens who aren’t used to eating fermented feed might be eager to swarm the food bowl. So, it’s best to pour the food into several different feeding places to ensure that all chickens get a chance to eat. If you regularly feed your chickens fermented feed, you’ll likely start to notice them looking and feeling healthier over time.
Additional Tips for Fermenting Chicken Feed
The above steps are just general instructions for how to ferment chicken feed. However, there are many ways you can go about it, and some methods will be more effective than others.
Here are some tips for fermenting chicken feed successfully:
- Use a feed with lots of variety, including items like grains, seeds, oats, and legumes.
- To get de-chlorinated water, buy filtered water, use well water, or let tap water sit out for 24 hours.
- Wait until you see bubbles forming before draining the liquid.
- Store the fermenting food in a dark, cool place that isn’t outside or in direct sunlight.
- Fermented chicken feed usually smells tangy and sweet, like sourdough bread.
- Don’t add yeast or apple cider vinegar while fermenting because that will lead to alcohol, which you can’t give to your flock.
- Always add more water if the food is no longer submerged.
- If you notice any mold or rancid smells, throw the food away and start over.
Final Thoughts
Fermenting chicken feed can be a tedious process, but it’s a great way to add nutritional benefits to your chickens’ diets. Healthier chickens mean longer, more fulfilling lives for the birds, which leads to more healthy eggs.
If you have the time and patience for fermenting, consider doing it for your chicken’s meals. Not only will it save you money in the long run, but it will also keep your flock in the best shape possible if done correctly.